Creating a Metamask Wallet: A Step-by-Step Guide for Beginners

Metamask has emerged as a popular Ethereum wallet and decentralized application (dApp) browser extension. With Metamask, users can securely store, manage, and interact with their digital assets, making it an essential tool for participating in the world of cryptocurrencies. In this article, we will provide a comprehensive guide on how to create a Metamask wallet account, ensuring you have a firm grasp of the process. So let’s dive in!
Metamask Wallet
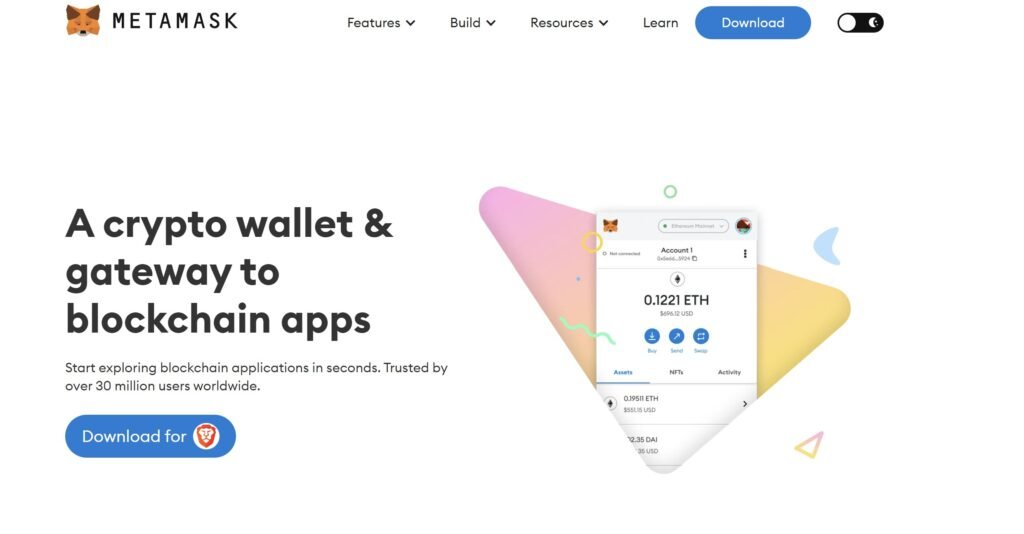
Metamask is a browser extension available for Chrome, Firefox, and Brave browsers. It serves as a digital wallet that allows users to manage their Ethereum-based assets, such as ETH and ERC-20 tokens, and interact with dApps seamlessly. Metamask provides users with a unique Ethereum address and a private key to access their wallet and initiate transactions securely.
Installing Metamask
- Launch your preferred browser (Chrome, Firefox, or Brave).
- Go to the official Metamask website or search for “Metamask wallet” in your search engine.
- Click on the download link that corresponds to your browser.
- Follow the on-screen instructions to install the extension.
Creating a New Metamask Wallet
- Once the installation is complete, you will notice the Metamask fox icon at the top-right corner of your browser.
- Click on the fox icon, and the Metamask interface will appear.
- Click “Get Started” to initiate the wallet creation process.
- Read and accept the terms of use and privacy policy.
- Click “Create a Wallet.”
Creating a Strong Password
- Enter a strong and unique password in the provided field. Ensure it contains a combination of uppercase and lowercase letters, numbers, and special characters.
- Confirm your password by re-entering it in the second field.
- Click “Create” to proceed.

Saving Your Secret Backup Phrase (Seed Phrase)
- After creating your password, Metamask will display a unique backup phrase consisting of 12 or 24 words.
- Write down the words in the exact order as shown and store them in a secure place offline. Do not share them with anyone.
- Confirm that you have saved the backup phrase by selecting the words in the correct order as prompted by Metamask.
- Click “Next” to proceed.
Wallet Verification
- In this step, Metamask will ask you to verify your backup phrase by selecting the correct words in the provided list.
- Select the appropriate words in the correct order, as per your backup phrase.
- Click “Confirm” to complete the verification process.
Wallet Security and Privacy Settings
- Metamask will now prompt you to set up your wallet’s security and privacy settings.
- You can choose whether to participate in the “MetaMetrics” program by selecting “Agree” or “Disagree.”
- Decide whether to enable or disable the “Autofill” feature based on your preferences.
- Click “Next” to proceed.
Read Also: How to Create a Trust Wallet Account: A Step-by-Step Guide
Wallet Usage and Network Selection
- Metamask will now display your Ethereum address, which is a long string of characters starting with “0x.”
- You can customize your wallet’s nickname or leave it as the default.
- Select the desired network (Main Ethereum Network, Ropsten Test Network, etc.) from the drop-down menu.
- Click “Next” to finalize the setup.
Conclusion
Congratulations! You have successfully created your Metamask wallet account. With your new wallet, you can securely store and manage your Ethereum-based assets, as well as interact with various decentralized applications. Remember to keep your password, backup phrase, and private key safe and secure. Metamask empowers you to explore the decentralized world of cryptocurrencies and blockchain technology, offering a seamless and user-friendly experience. Enjoy your journey into the world of Metamask and the exciting possibilities it brings!
Frequently Asked Questions (FAQs) about Metamask Wallet
Q1: What is Metamask Wallet?
Metamask Wallet is a browser extension that allows users to manage their Ethereum-based assets, interact with decentralized applications (dApps), and securely store their digital assets. It provides users with a unique Ethereum address and a private key to access their wallet and initiate transactions.
Q2: Which browsers are compatible with Metamask Wallet?
Metamask Wallet is compatible with popular browsers such as Chrome, Firefox, and Brave. You can install the Metamask extension from the respective browser’s extension store.
Q4: Is Metamask Wallet safe and secure?
Metamask Wallet employs various security measures to ensure the safety of your digital assets. It uses strong encryption and stores your private keys locally on your device, keeping them away from the internet. However, it’s essential to follow best security practices, such as keeping your password and backup phrase secure and enabling additional security features like two-factor authentication.
Q5: What is a backup phrase (seed phrase)?
A backup phrase, also known as a seed phrase, is a unique set of 12 or 24 words generated by Metamask Wallet during the wallet creation process. It acts as a backup for your wallet and can be used to restore your wallet if you lose access to your device or need to recover your wallet on a different device.
Q6: How do I back up my Metamask Wallet?
Write down the words in the exact order as shown and store them in a secure place offline.
Q7: Can I use Metamask Wallet on multiple devices?
Yes, you can use Metamask Wallet on multiple devices. To access your wallet on a different device, install the Metamask extension and use your backup phrase to restore your wallet.
Q8: How do I send and receive funds with Metamask Wallet?
To send funds from your Metamask Wallet, navigate to the “Send” tab in the Metamask interface, enter the recipient’s Ethereum address, specify the amount, and confirm the transaction. To receive funds, simply provide your Ethereum address to the sender.
Q9: Can I use Metamask Wallet with other blockchains?
Initially, Metamask Wallet was designed for the Ethereum blockchain. However, it has expanded its support to include other blockchains like Binance Smart Chain (BSC) and Polygon (formerly Matic). You can switch networks within the Metamask interface to interact with dApps and manage assets on different blockchains.
Q10: Are there any fees associated with using Metamask Wallet?
Metamask Wallet itself does not charge any fees. However, when you perform transactions on the Ethereum network, you may encounter network fees known as gas fees. Gas fees are required to process and validate transactions on the blockchain and are paid to miners. The fees vary based on network congestion and the complexity of the transaction.
Read Also: How to Create a Trust Wallet Account: A Step-by-Step Guide
Disclaimer: The information provided in this article is for informational purposes only and should not be construed as financial or investment advice. Cryptocurrency investments are subject to market risks, and individuals should seek professional advice before making any investment decisions.


